Painting with egg oil tempera
Lots of people are choosing egg oil tempera for environmental and health reasons, thanks to its pure, natural ingredients, free from additives and solvents. Others choose it for the simple reason that it produces an incomparably beautiful result. Would you like to paint walls or furniture with egg oil tempera? We have 12 different shades of egg oil tempera here and in all our shops.

Preparation
Because egg oil tempera paint is so thin and finely textured, it is worth being extra careful to prepare your surface for a really good end result.
When using putty, make sure it is a fine-grained putty. Surfaces coated with putty first need one coat as undercoat on top of the puttied surfaces as there is a risk that they will absorb the paint. Then 2–3 more coats over the whole surface.
New wood
There is no need for undercoat. If the surface is very absorbent, the paint can be diluted with water or emulsion for the first coat. Knots should be painted over with a shellac primer before painting to avoid them coming through.
Previously painted surfaces
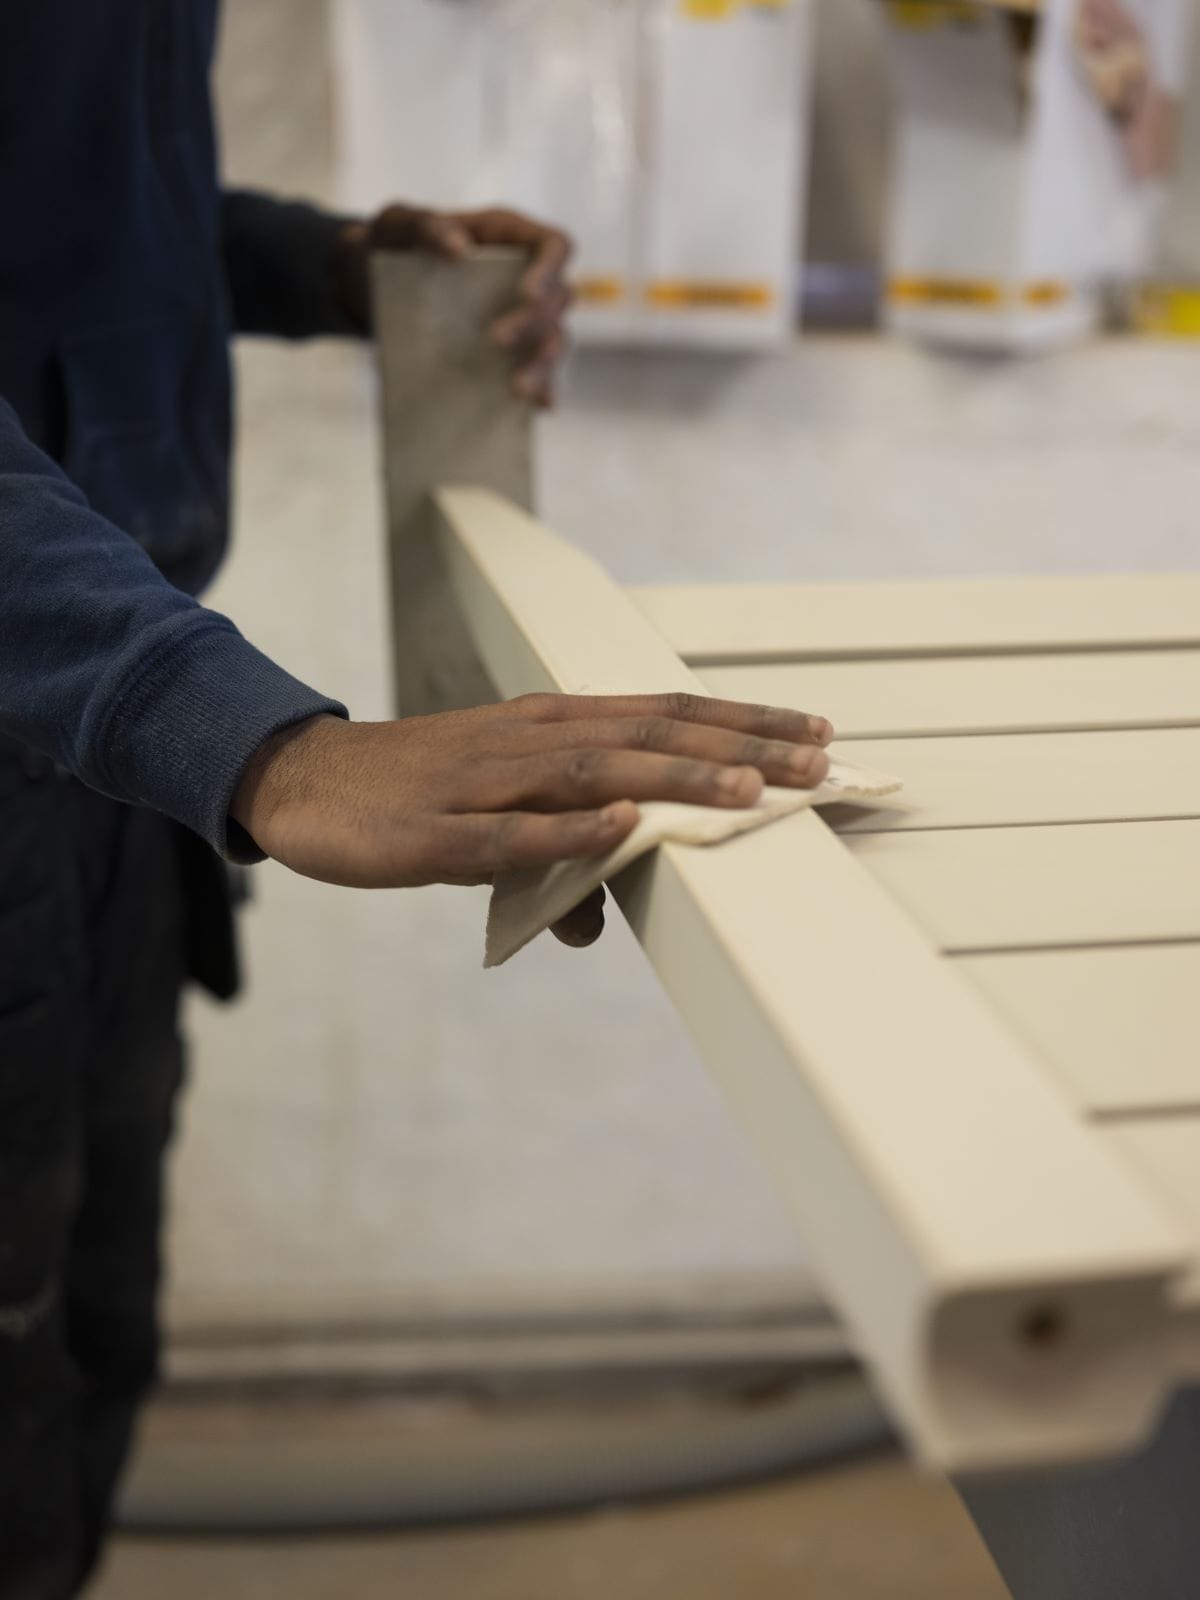
Loose paint should be scraped off and the surface filled and sanded if necessary. Shiny surfaces should be sanded with a fine sandpaper and then washed clean.
Plastered surfaces
Loose plaster should be brushed off and the surface repaired. The surface should then best be saturated with water and then painted using egg oil tempera on a wet surface.
Note! Newly plastered walls need to cure properly before they can be painted.

Paint consistency
It is important that the paint is the right consistency for painting. It can be thinned using water or emulsion. The paint should always be easy to brush on or apply with a roller. Too thick paint will “stick” quickly and is hard to paint, leading to unsatisfactory results, and you will also end up using a lot of paint. The different pigments in the paint behave very differently in the paint mixture. Some pigments produce a thicker paint while others produce a thin paint no matter how much you mix in. In general, light pigments tend to produce a thicker consistency and coloured pigments produce a thinner consistency.
Paint with a brush or roller
Brushes
This type of paint is not that fussy about the kind of brush you use, but a semi-soft/soft lacquer or ceiling brush made from pigs’ bristles or a natural/synthetic brush is perfect. Stir the paint well so that the pigment is evenly distributed. Normally, you will need 2–3 coats for full coverage. The next coat can be painted after about 12 hours.
The paint should flow smoothly on the brush. If there is increasing resistance, this is because the water in the paint has been absorbed into the surface. The paint will “set” quickly (1–2 minutes). As long as the surface still looks shiny, you can continue working with it but once it has become matt, so much water will have evaporated that there is a risk of removing the paint you have just painted. When painting large surfaces, you need to work fast to achieve as even a surface as possible.
Rollers
If you want to use a roller, pour the paint out onto a flat surface and fill the roller from that. If you use a roller tray or a tin, there is a tendency to get too much paint on the roller. Use the roller as usual but roll the paint on thinly. Normally, you will need 2–3 coats for full coverage. The next coat can be painted after about 12 hours.
Speckle painting
In the eighteenth and nineteenth centuries, speckle painting was a method that ordinary Swedes used to hide dirty and uneven walls. The craftsmanship was refined over time and the style went more upmarket, becoming popular in wider circles. And now this old finish has been picked up again and is increasing in popularity.
Successful speckle painting is not easy. It takes concentration and precision, and the technique can seem long-winded – spattering surplus paint onto the wall using some kind of brush. Start by practising on a large board primed with undercoat before starting on your walls. That way, you will have got the knack before things get serious.


Application
Historically, the original tool used for speckle painting was a broom or whisk made from birch twigs. You can make one in different ways. The best method is to use fresh birch twigs in varying widths so that your speckles are different sizes. Cut off the ends with secateurs so the ends that you will dip in the paint are straight. Use a container with a small amount of paint at the bottom so you aren’t dipping too deep and picking up too much paint. Dip 3 mm maximum, and wipe off any excess against the edge of the container.
Less paint makes a more attractive pattern and you have more control over the result. You can also use a wide, round paintbrush with a bent handle intended for painting with traditional exterior paint or tar, a “hornsugga” in Swedish.
Note! Too much paint can produce lines and cause dribbling.
1. Paint the base coat
Dilute the base coat with water to approx. 150 ml/ litre, so it is roughly the same consistency as runny yoghurt (or Swedish lättfil). Cover the floor with paper and paint your furniture/wallpaper in your base colour. Paint one coat, which then needs to dry for about 2–3 days at room temperature.
2. Start speckle painting
It takes a bit of practice to get the knack. Start by test painting on a piece of paper or a Masonite board. If the speckles are “greasy” drips, you need to dilute the paint more. If it starts to run, you will need to mix in more paint.
When you have dipped your “brush” in the paint pot, press it on a piece of paper to remove excess paint. Take your birch twig brush in one hand and hold your other arm out about 50 cm from the wall/furniture. Hit your brush hand against your other hand or underarm so the paint spatters. Work in a sweeping motion in the desired direction. When painting a wall, take one step sideways and splash again. Remember to step the same distance every time and to stand the same distance from the wall.
Apply one colour at a time and leave to dry before adding the next. Wash your birch brush between colours.
Start with the darkest colour, then add the mid-range colours and end with the lightest, white colour to create a speckled effect with depth and contrast. Leave the wallpaper/furniture to dry for about 3 weeks (room temperature).

Drying time
Egg oil tempera needs light and oxygen to dry and cure. It is an advantage if the room is well ventilated. Tempera dries in two steps: first the water evaporates and then the linseed oil oxidises. The paint is dry enough not to collect dust after about an hour, can be painted over (with tempera paint) after about 12 hours, and surface dry after 2–7 days, which means paint won’t come off if you touch it.
Note! The time the paint takes to become surface dry varies depending on the colour. The paint will have completely cured after 3–4 weeks. Once the paint has cured it is very hardwearing.
Treatment of painted surfaces
Egg oil tempera produces a beautiful, breathable matt surface that can be treated in various ways to increase its shine and produce a more hardwearing surface.
Brushing for shine
If an “eggshell shine” is wanted, e.g. on furniture, the surface can be brushed with a scrubbing brush, bath brush or steel wool. The surface can be brushed after a drying period of about 2–3 weeks. First try it out on a hidden surface where the paint has cured enough.
Waxing
The surface can be waxed with beeswax or linseed oil wax. The wax increases the shine and seals the paint to a certain extent, making it more resistant to dirt.
Cleaning painted surfaces
Fully cured surfaces can be cleaned with a mild, neutral cleaning product, e.g. washing up liquid, soap or olive oil soap, available to buy in all Norrgavel shops. Moisten marks and the surrounding area with a sponge. Try to sponge off the mark. If this doesn’t work, leave the cleaning substance to work for a while. Then brush the mark with a soft or medium-hard brush using short strokes. Brush the area around the mark at the same time so any difference in shine is not as obvious.
Paint amounts & storing paint
A litre of paint will be enough for about 10 square metre per coat depending on the surface and the consistency of the paint. Unopened paint can be kept at room temperature for about two months. It is best to store paint in a cool but frost-free place if you want it to keep.